In this tutorial, we'll learn how to integrate TailwindCSS with Next.js.
What is Next.js?
Next.js is a React framework which provides Server-Side Rendering out of box. It's a very popular Node.js framework with over 43k stars on Github. It provides a several features like Server-Side rendering, Static Exporting, CSS-in-JS, etc.
I've worked with Next.js for more than a year and I liked the overall Developer Experience. It's pretty easy to create new pages, add new plugin, routing, etc. On top of all these, they've a lot of starter templates (or examples).
Deploying Next.js applications to production using Zeit is also pretty simple.
What is TailwindCSS?
I've already covered about TailwindCSS in one of my previous posts. In short, TailwindCSS is a utility-first CSS framework which aims to provide us with a set of utlity classes (like flex, block, inline-block, etc.). In addition to that, it also provides us utility classes to create CSS grids, responsive designs as well as style hover, focus and active pseudo-classes.
Getting started
Let's start by bootstrapping a Next.js application. To do so, we need to run the following command:
npx create-next-app
If everything works fine, you should get an output like the following:
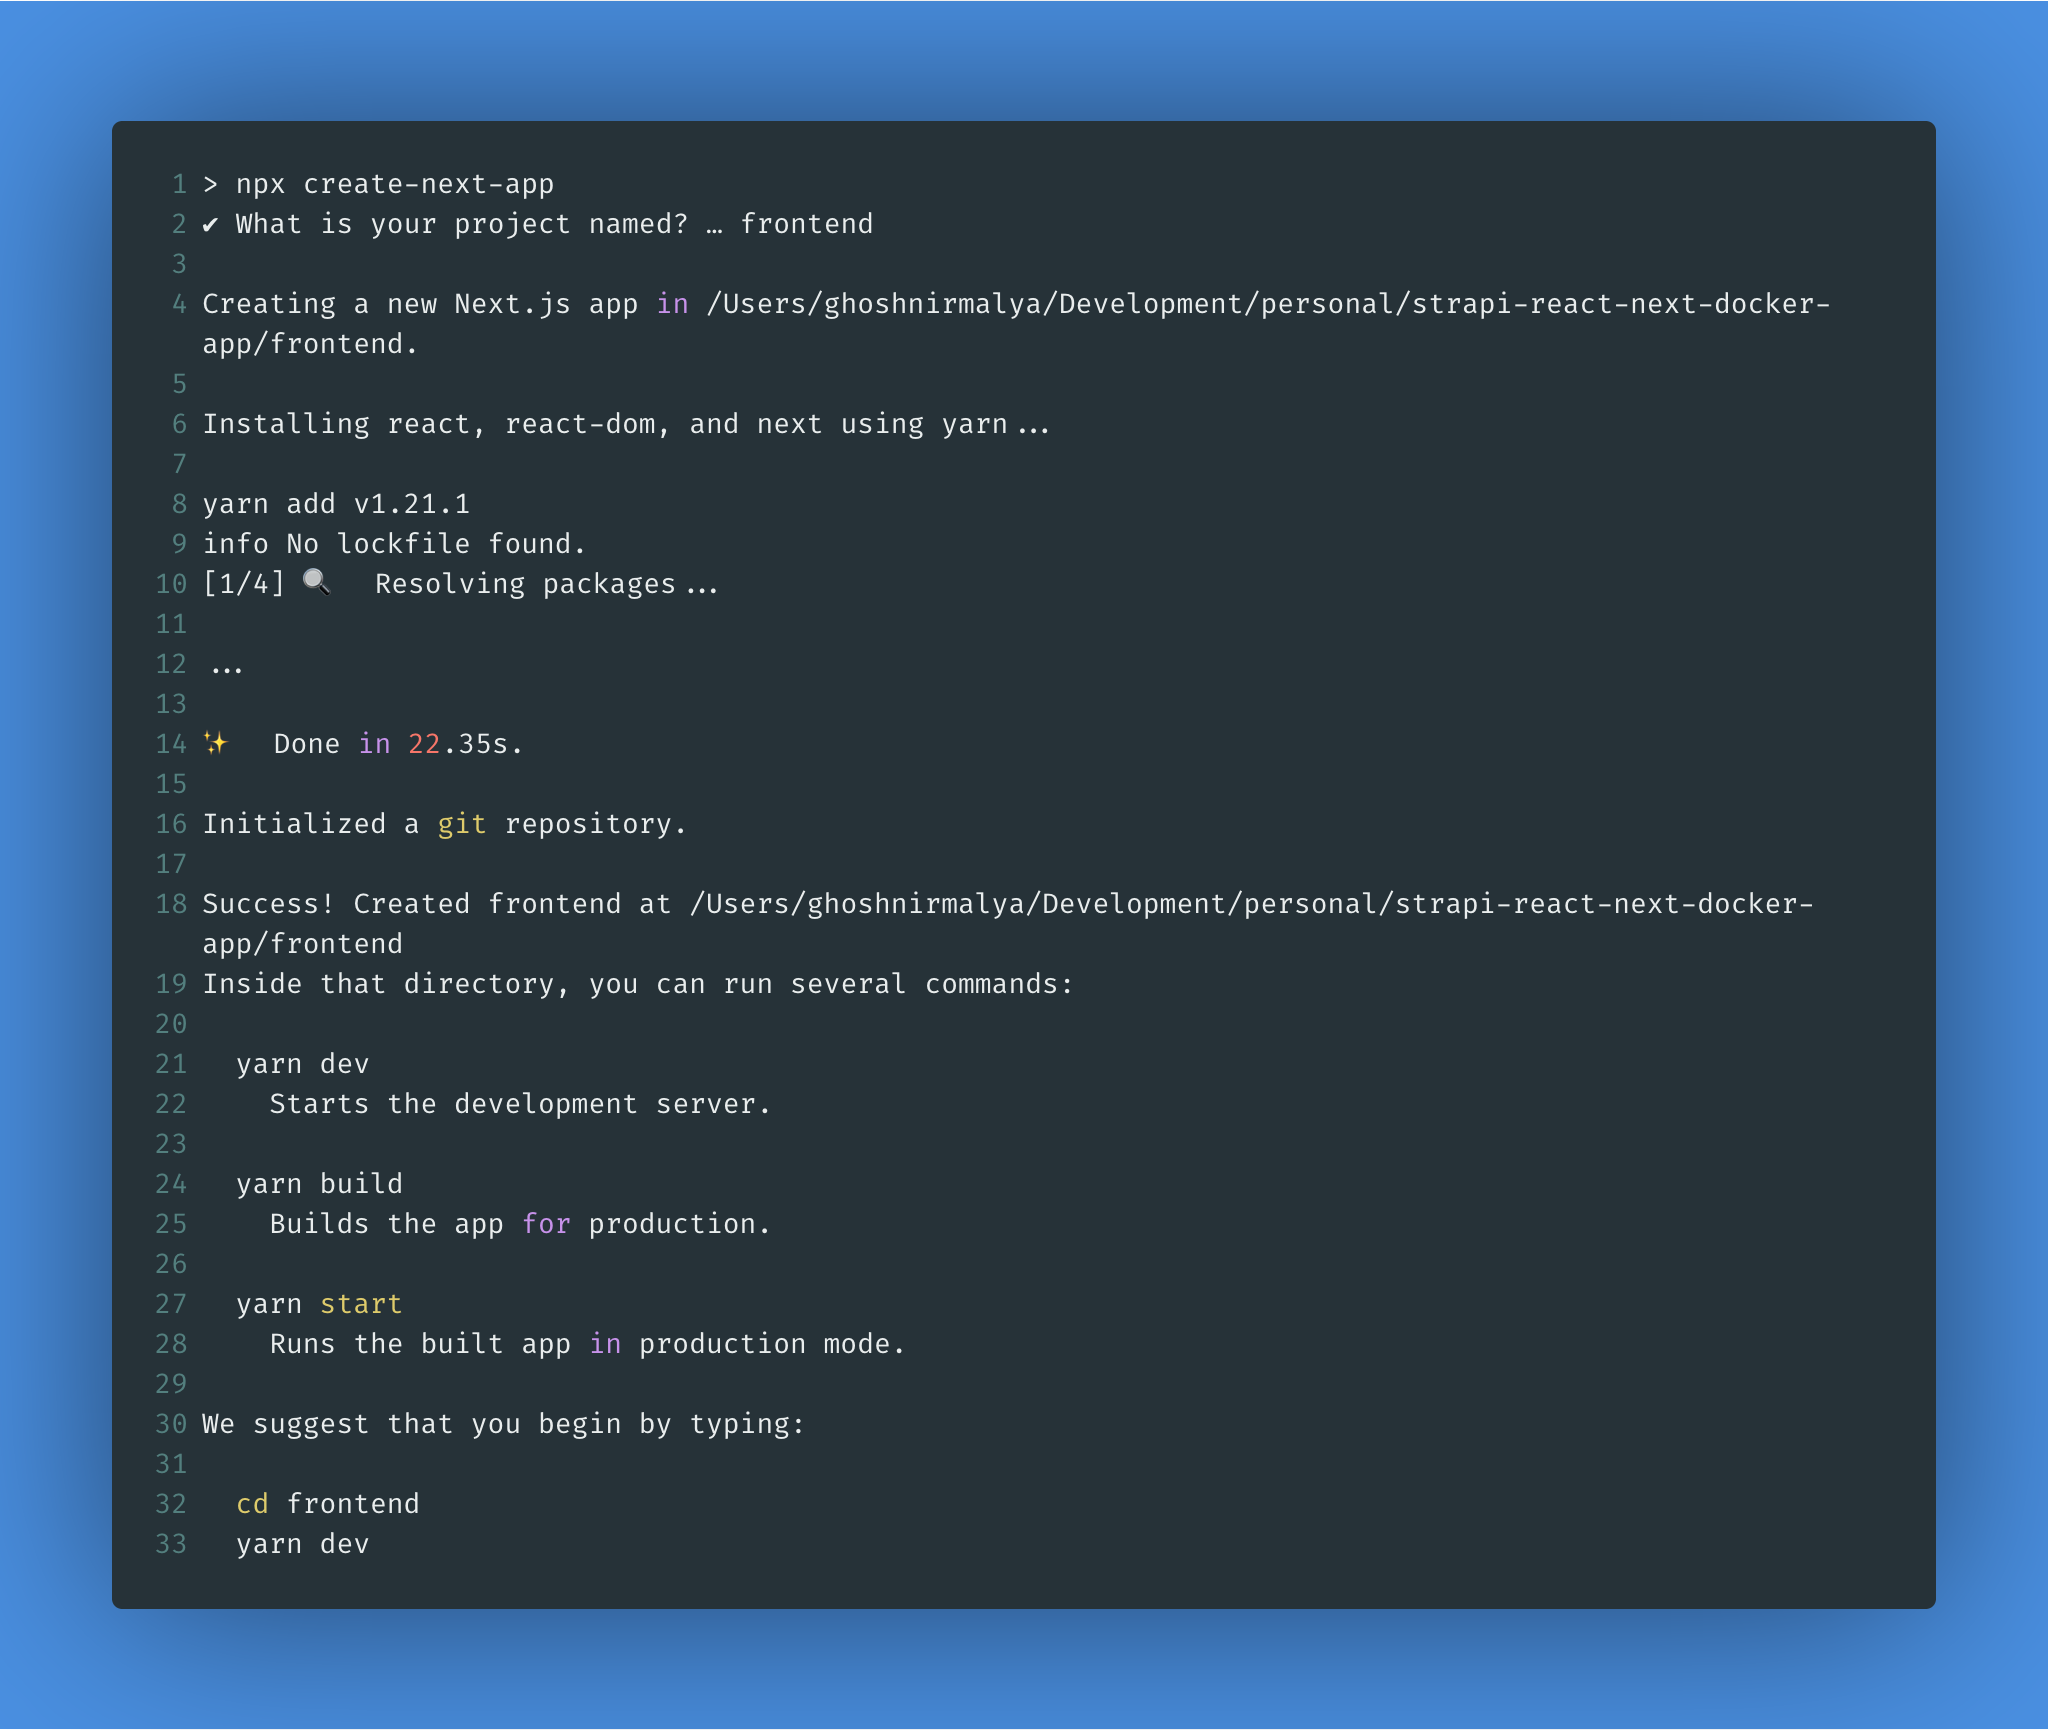
Once the installation is complete, we'll get a new frontend directory as that's the name we gave while creating the application. Let's go inside the frontend and start the server:
cd frontend && yarn dev
Now,if we visit http://localhost:3000, we'll see the following page:

Installing TailwindCSS
I've written about how to integrate TailwindCSS with React in one of my previous posts. The process of integrating TailwindCSS with Next.js will be a similar one.
First, we need to install TailwindCSS:
yarn add tailwindcss
If you prefer npm, you can run the following command instead of the above one:
npm install tailwindcss
Next, we need to use the @tailwind directive to inject Tailwind's base, components, and utilities styles into our CSS. To do that we need to create a new file at public/assets/styles/vendors.css add the following code to it:
@tailwind base;
@tailwind components;
@tailwind utilities;
Next, we need to add the build:style script to our package.json file:
"scripts": {
  "dev": "next dev",
  "build": "next build",
  "start": "next start",
  "build:style": "tailwind build public/assets/styles/vendors.css -o public/assets/styles/tailwind.css"
},
Now, the build:style command will generate a new public/assets/styles/tailwind.css file whenever we run it:
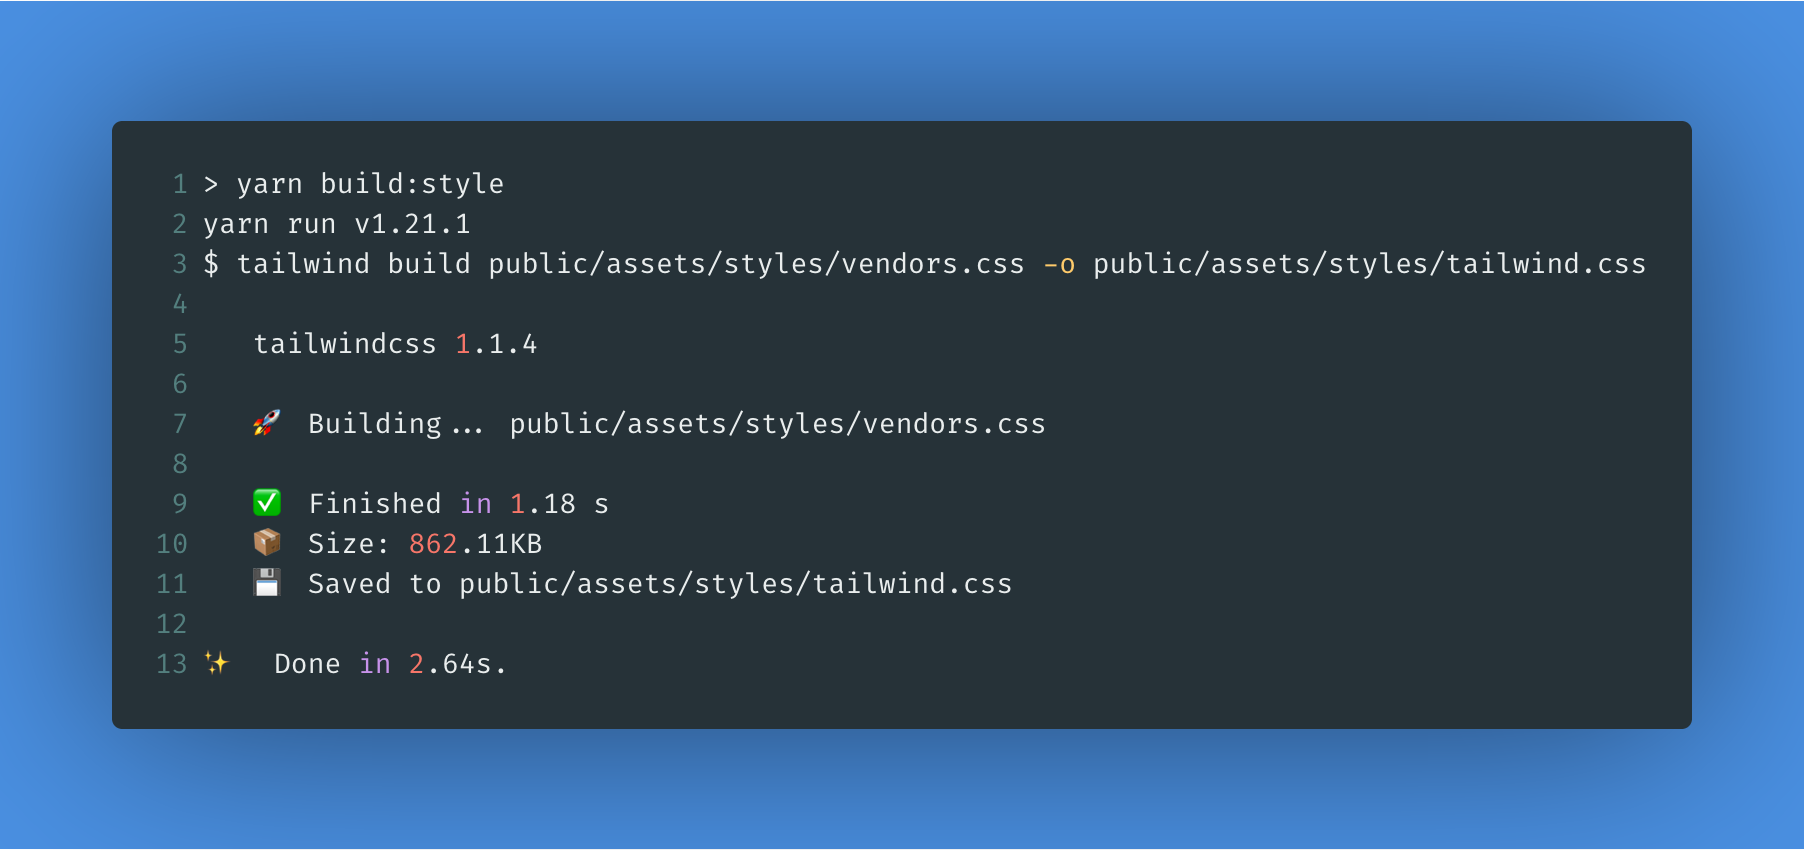
Next, we need to add the generated file to our pages/index.js file:
import Head from "next/head";
import React from "react";

import Nav from "../components/nav";
import "../public/assets/styles/tailwind.css";
However, if we visit http://localhost:3000, we'll get the following error:
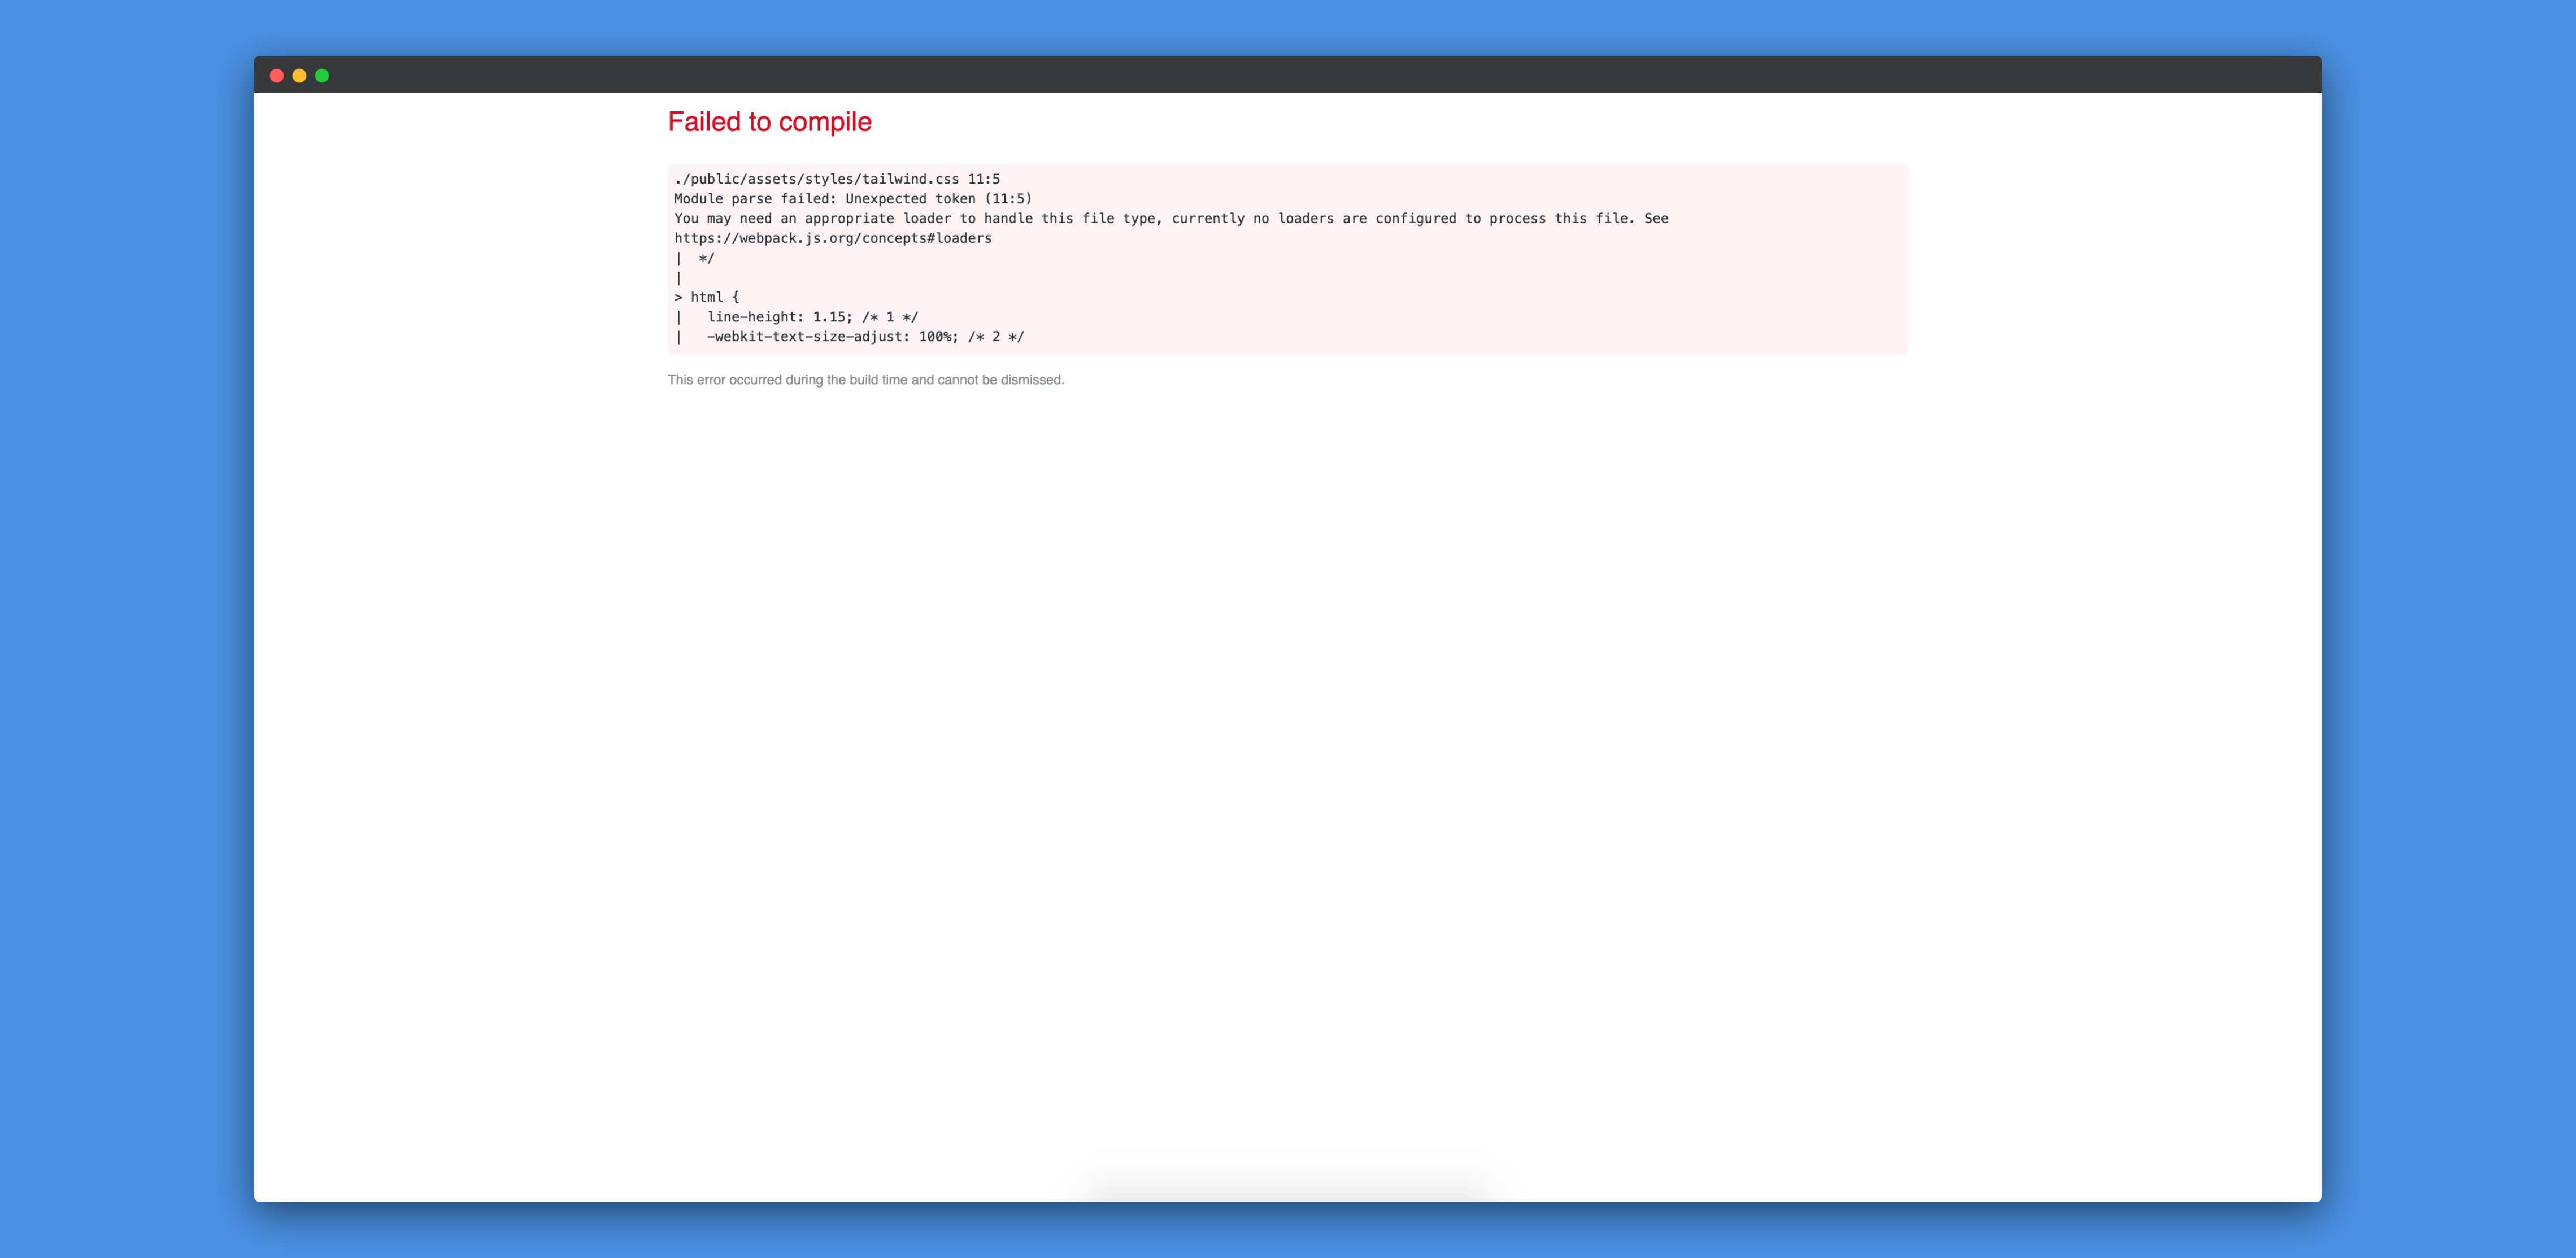
This happens because Next.js doesn't know how to process this file as there is no Webpack loader installed in our application which can help in processing the .css file. To resolve this issue, we'll have to install the next-css plugin:
yarn add @zeit/next-css
Next, we need to configure Next.js to use that loader. To do that, we need to create a next.config.js in the root of our project and add the following code to it:
const withCSS = require("@zeit/next-css");

module.exports = withCSS({});
That's all we need to do to make TailwindCSS work with Next.js. To verify whether TailwindCSS is working or not, we can add a TailwindCSS class. We can add the bg-blue-900 py-8 class to our pages/index.js file:
const Home = () => (
  <div>
    <Head>
      <title>Home</title>
      <link rel="icon" href="/favicon.ico" />
    </Head>
    <Nav />
    <div className="hero bg-blue-100 py-8">
      <h1 className="title">Welcome to Next.js!</h1>
      <p className="description">
        To get started, edit <code>pages/index.js</code> and save to reload.
      </p>
Now, if we restart our server and visit http://localhost:3000, we'll see that TailwindCSS is working as expected:

If you want to know more about configuring Tailwind, you can read it here.
Conclusion
In this tutorial, we've learnt how to use TailwindCSS with a Next.js application. In the future, we'll build a ProductHunt clone using React and GraphQL.
I hope that this tutorial helps you in your future projects.