In this tutorial, we'll learn how we can create a package from a React component. We'll also learn how to publish it to NPM so that other developers can use our package.
Introduction
We'd developed a Pagination component in one of our previous posts. We'll be taking inspiration from that component and convert it into a NPM package.
You'll need a NPM account before you can publish a package there. Before we get started, it's recommended to create an account on NPM. You can create unlimited public packages on NPM.
Bootstrapping a React Component Library
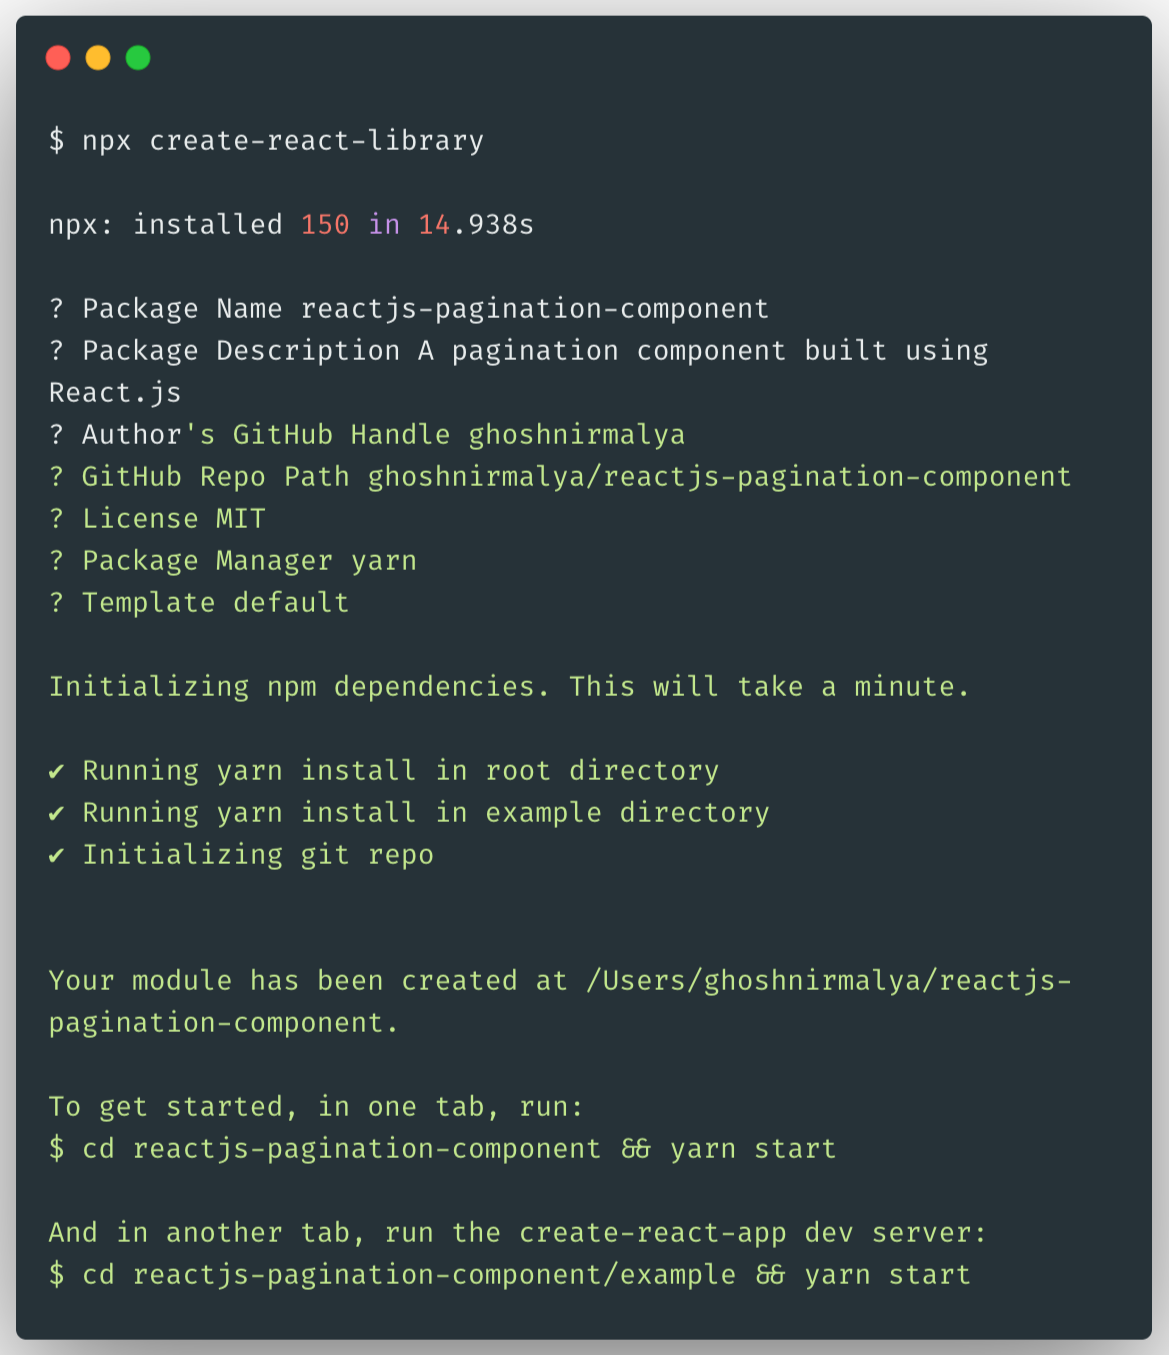
We'll be using create-react-library to bootstrap our component library. I've used create-react-library to bootstrap one of my previous NPM package, React Search Box. It has a bunch of features and the Developer Experience is really good. It's really easy to get up and running using create-react-library.
We can bootstrap our project in two ways:
- By installing create-react-library globally and then creating a new module
npm install -g create-react-library && create-react-library
- By using npx
npx create-react-library
Now, in one tab, we can run the following command to run rollup to watch our src directory and automatically recompile it into dist whenever we make any change:
cd reactjs-pagination-component && yarn start
In another tab, we can run the example create-react-app that's linked to the local version of our package:
cd reactjs-pagination-component/example && yarn start
Our example create-react-app application should be up and running on http://localhost:3001/.

Modifying our existing Pagination component to convert it to a re-usable package
In this step, we'll extract the logic necessary for our package and move the rest of the stuffs into the create-react-app application for demo purposes.
We need only the logic for our pagination component. Before that, we need to add the necessary dependencies.
yarn add @emotion/core
This will install Emotion which we'll be using to style our Pagination component. Our component should look like the following:
/** @jsx jsx */
import { css, jsx } from '@emotion/core'

const ReactPaginationComponent = ({
  onChange,
  currentPage,
  totalPages,
  color,
  isLoading
}) => {
  // The logic for generating pagination is taken from
  // https://gist.github.com/kottenator/9d936eb3e4e3c3e02598

  const pageBuffer = 3
  const startPage = currentPage - pageBuffer
  const endPage = currentPage + pageBuffer + 1
  const range = []
  const rangeWithDots = []
  let l

  for (let i = 1; i <= totalPages; i++) {
    if (i == 1 || i == totalPages || (i >= startPage && i < endPage)) {
      range.push(i)
    }
  }

  for (let i of range) {
    if (l) {
      if (i - l === pageBuffer) {
        rangeWithDots.push(l + 1)
      } else if (i - l !== 1) {
        rangeWithDots.push('...')
      }
    }
    rangeWithDots.push(i)

    l = i
  }

  if (isLoading) {
    return false
  }

  return (
    <ul
      css={css`
        list-style-type: none;
        padding: 0;
        display: flex;
      `}
    >
      {rangeWithDots.map((pageNumber, index) => {
        return (
          <li
            key={index}
            css={css`
              :not(:last-child) {
                margin-right: 10px;
              }
            `}
          >
            <button
              data-page-number={pageNumber}
              onClick={() => onChange(pageNumber)}
              disabled={pageNumber === '...'}
              css={css`
                border: 1px solid ${color};
                border-radius: 2px;
                color: ${currentPage === pageNumber ? '#fff' : color};
                padding: 5px 10px;
                background-color: ${currentPage === pageNumber
                  ? color
                  : 'transparent'};
                font-size: inherit;

                :hover {
                  cursor: pointer;
                }

                :disabled {
                  border: none;
                  cursor: not-allowed;
                }
              `}
            >
              {pageNumber}
            </button>
          </li>
        )
      })}
    </ul>
  )
}

export default ReactPaginationComponent
The explanation for the above logic is already explained here. You can refer to that tutorial to understand the logic used for creating the pagination component.
Now, we can import our component in our create-react-app application and render it on the browser:
....

import ReactPaginationComponent from 'reactjs-pagination-component'

const App = () => {
  const [isLoading, setIsLoading] = useState(true)
  const [data, setData] = useState([])
  const [totalPages, setTotalPages] = useState(1)
  const [currentPage, setCurrentPage] = useState(1)

  const handleChange = (pageNumber) => {
    // Logic for handling async calls
  }

  const listNode = () => {
    return (
      <ul>
        {data.map((datum, index) => {
          return <li key={index}>{datum.title}</li>
        })}
      </ul>
    )
  }

  const paginationNode = () => {
    if (isLoading) {
      return false
    }

    return (
      <div className='pagination-component'>
        <ReactPaginationComponent
          color='#333'
          isLoading={isLoading}
          onChange={handleChange}
          currentPage={currentPage}
          totalPages={totalPages}
        />
      </div>
    )
  }

  return (
    <div className='container'>
      {listNode()}
      {paginationNode()}
    </div>
  )
}

export default App
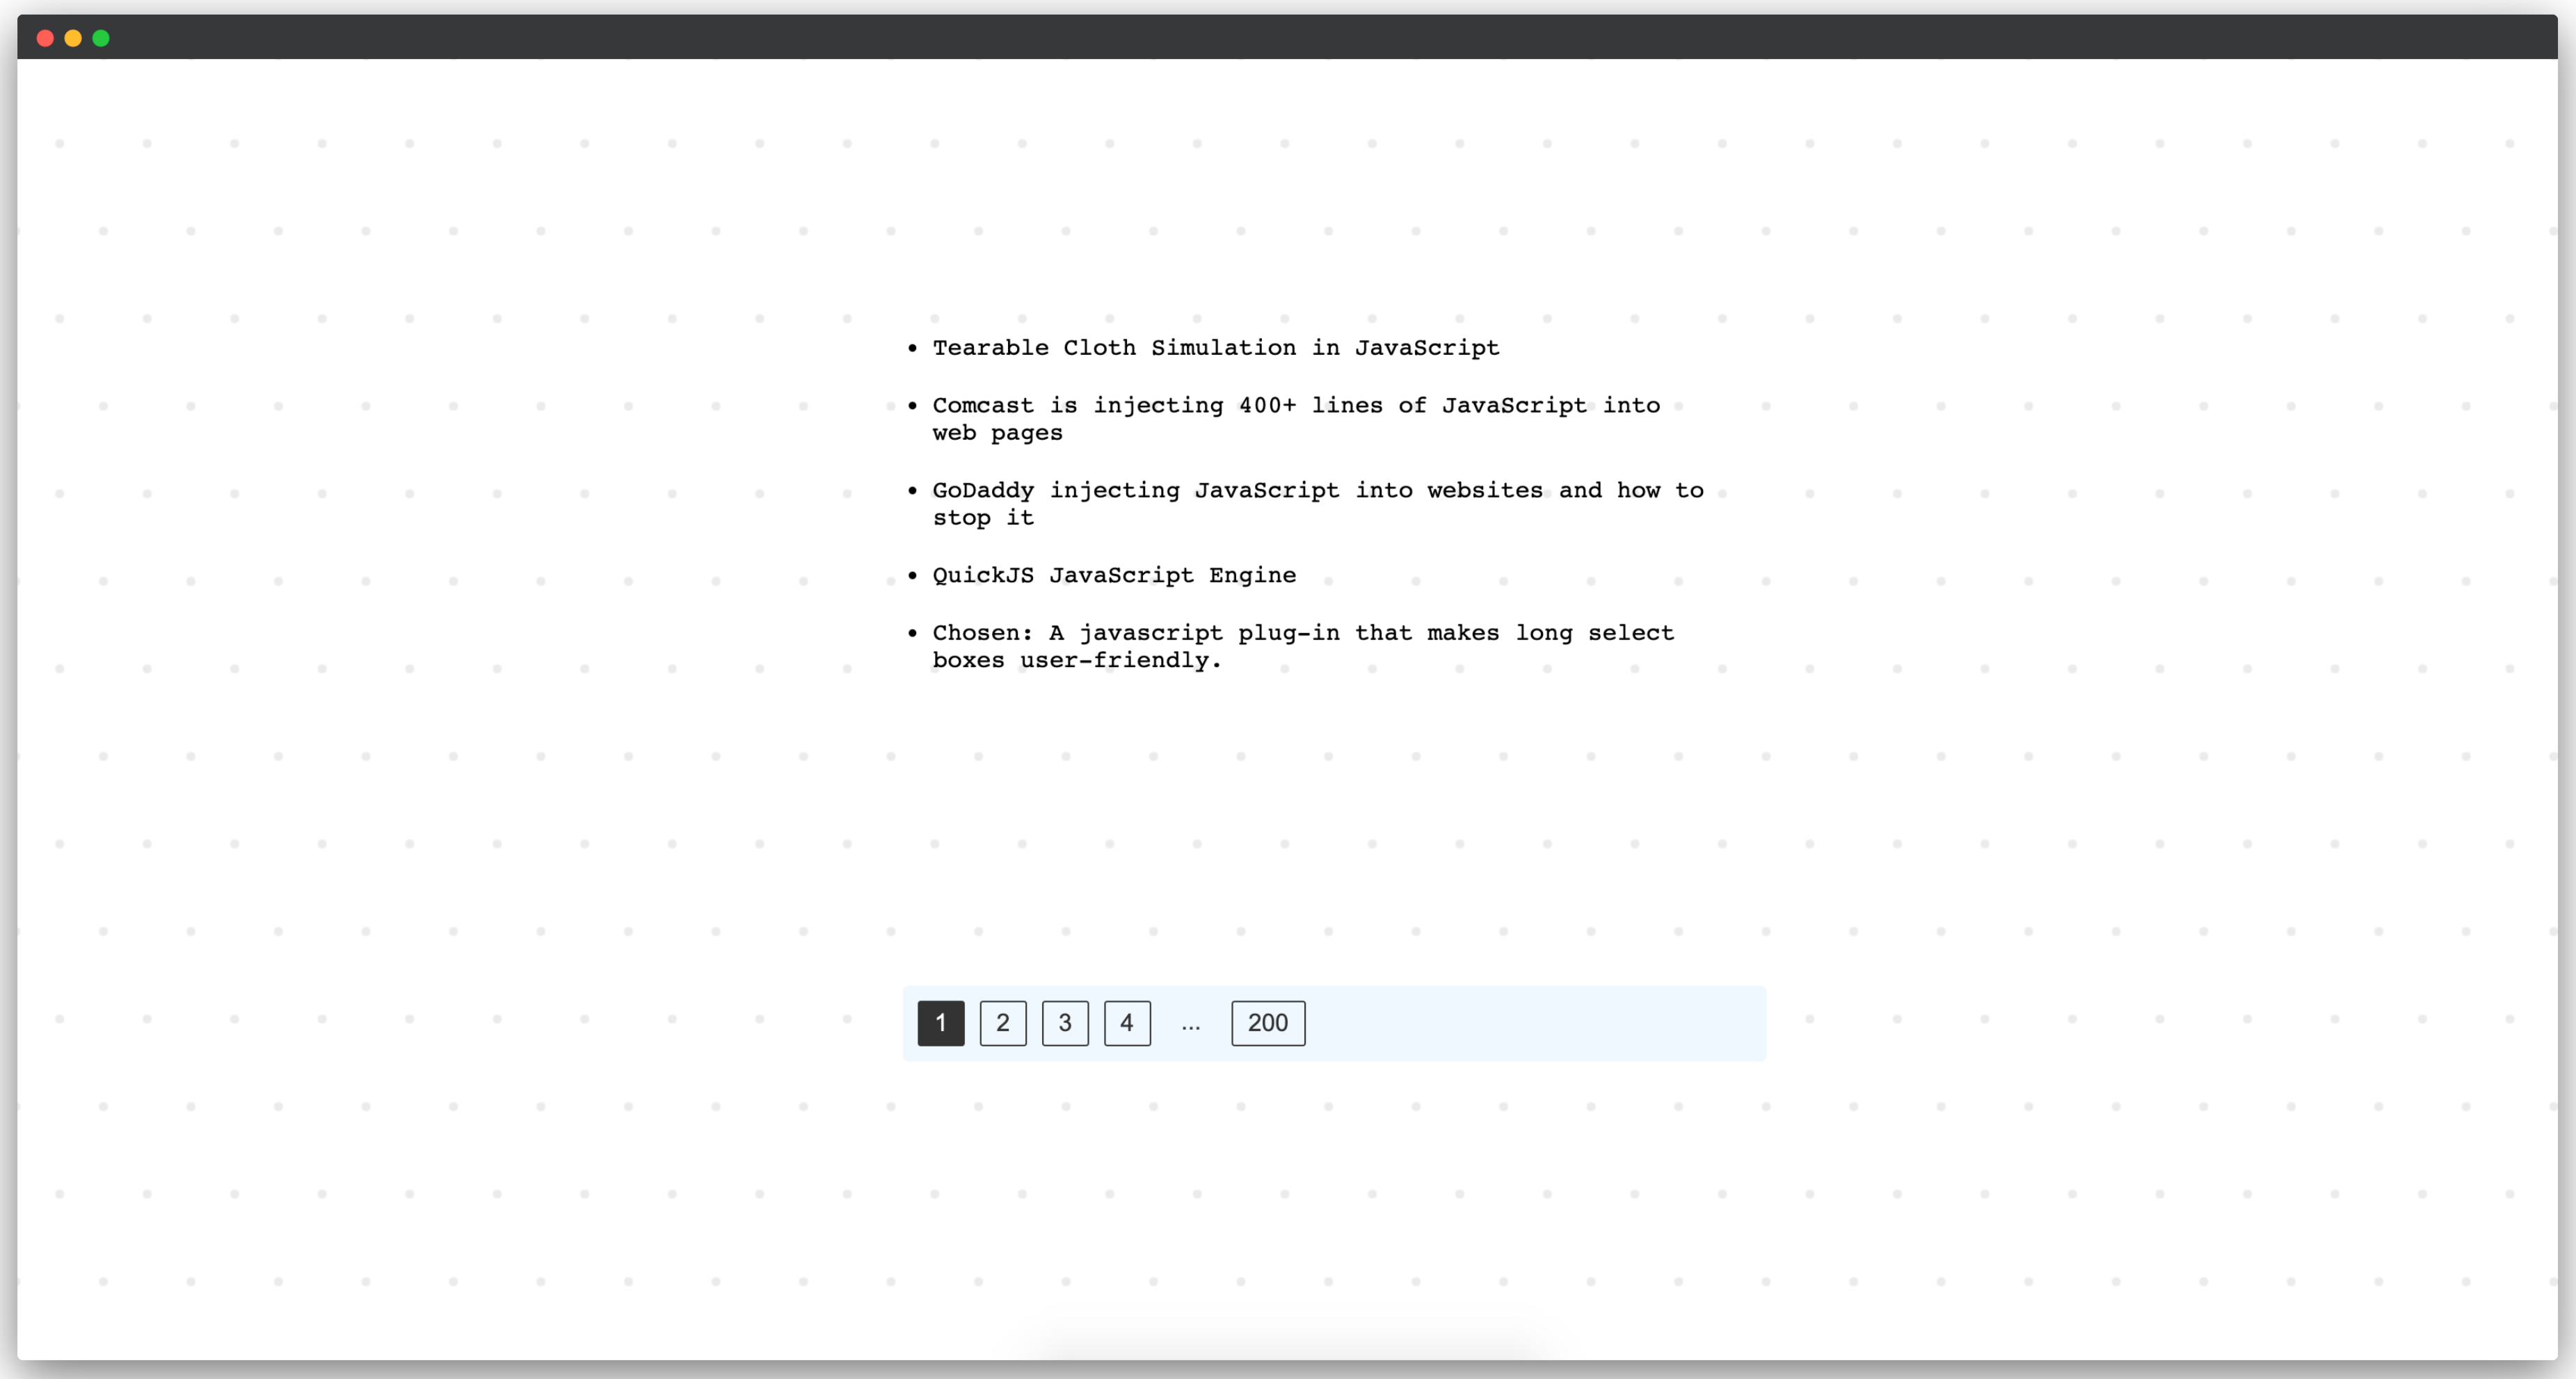
We should be able to view the demo of our application on http://localhost:3000/:
You can refer this Pull Request for all the changes.
Adding NPM information to our local environment
First, we need to add a registry user account on our local machine. On our terminal, we need to execute the following command:
npm adduser
The above command will create or verify a user named <username> in the specified registry, and save the credentials to the .npmrc file. More information regarding the above command can be obtained from NPM docs.
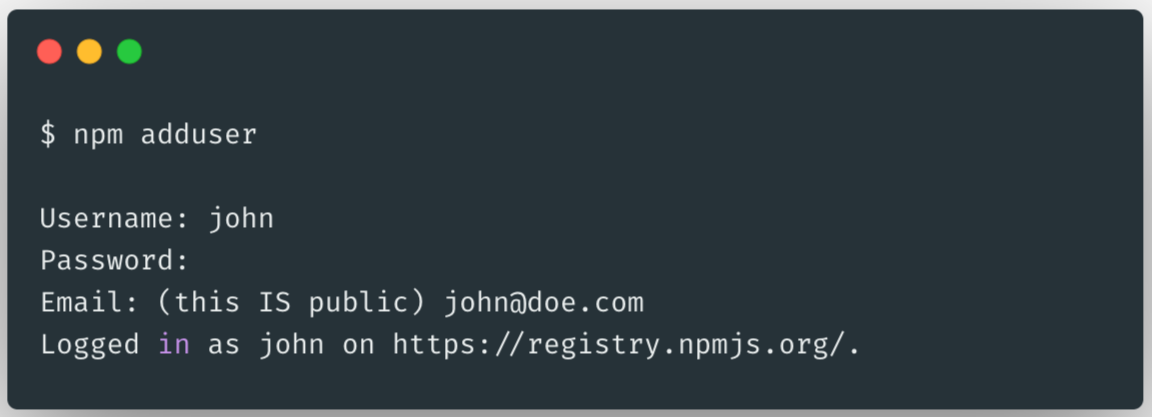
We'll see a similar output on our terminal.
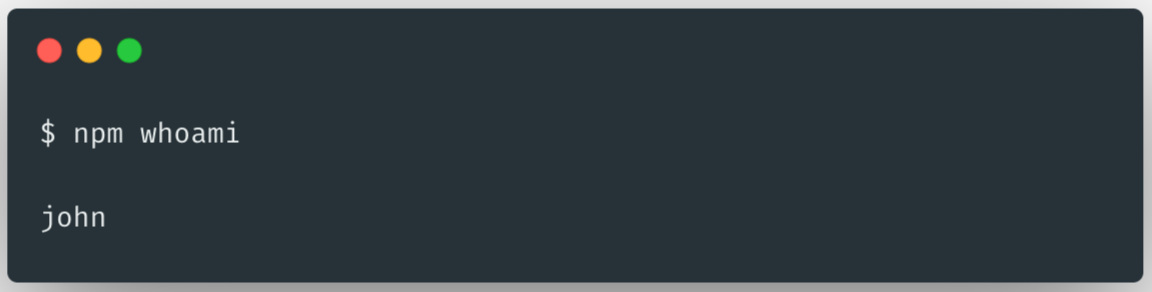
Now, if we type the command below, we should be able to view our NPM username:
npm whoami
Initializing NPM with our package
We can use the following command to create a package.json file which is necessary for publishing a package to NPM:
npm init
More information regarding the above command can be obtained from NPM docs.
If you already have a package.json file with your project, you can skip the above step.
Publishing our package to NPM
The final step would be publishing our package to NPM.
npm publish
The above command will publish our package to NPM. More information regarding the above command can be obtained from NPM docs.

It's possible that we might see the above error when we're trying to publish our package. This means that there is already a published package named react-pagination-component on NPM. So, we'll need to rename our package.
You can search for packages in NPM using the
npm search <package-name>command.
In this case, we can rename our package from react-pagination-component to reactjs-pagination-component in our package.json file:
{
  "name": "reactjs-pagination-component",

....
Now, if we try to publish again, everything should work fine:
npm publish
The above command will generate an output similar to the following:

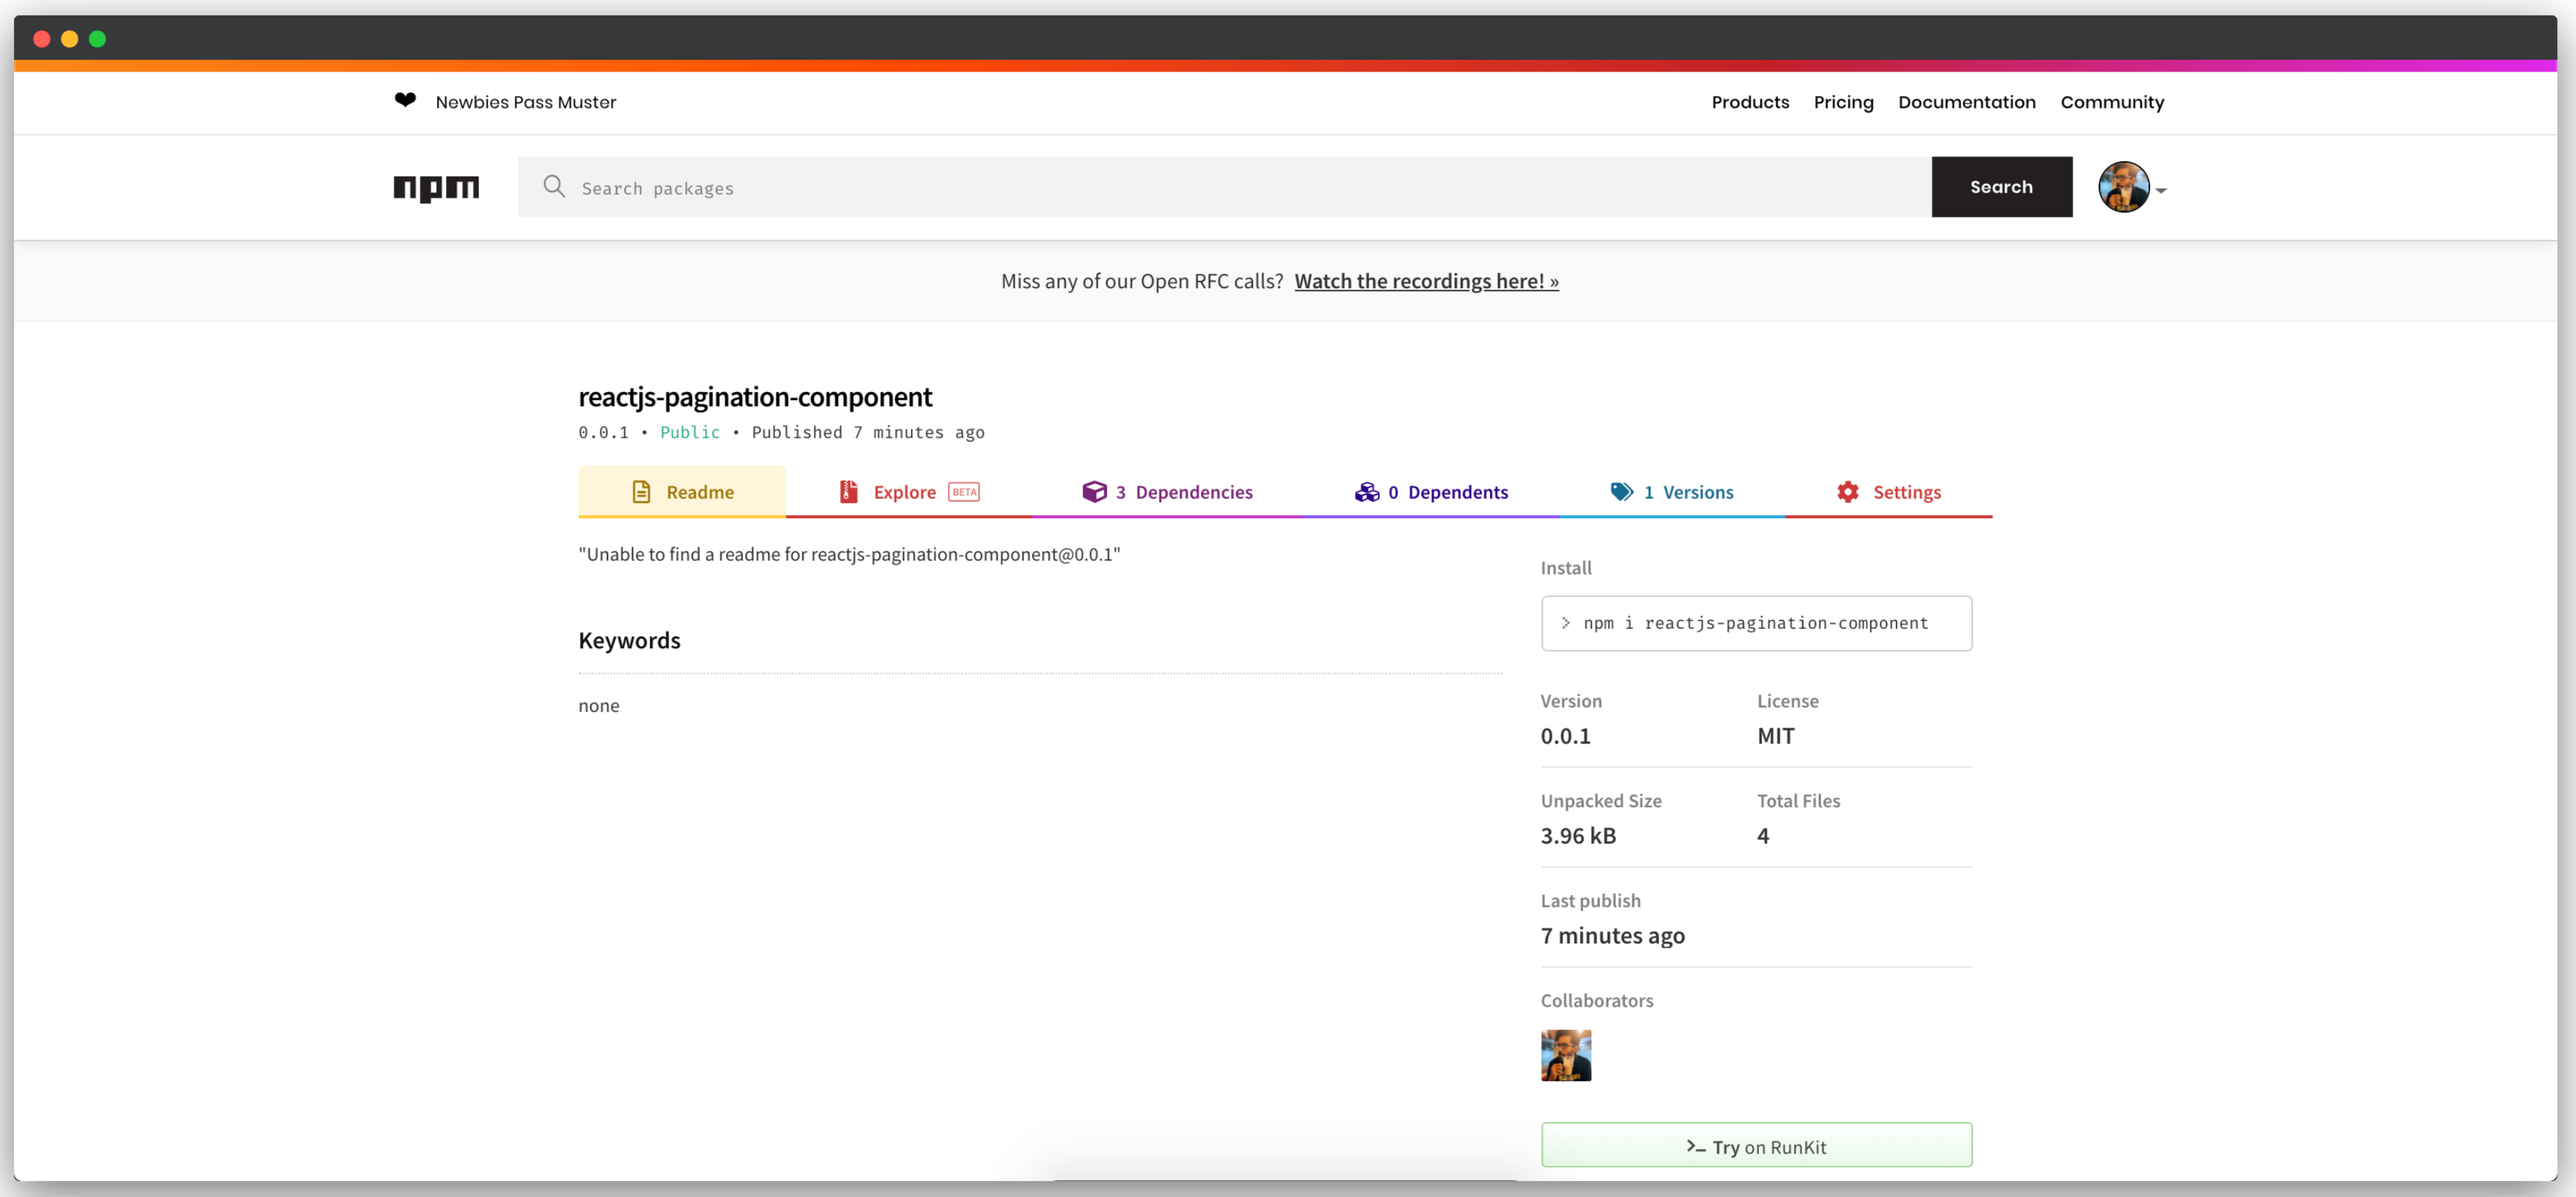
Now, we can see that our package has been published to NPM.
Conclusion
In this tutorial, we learnt how we can convert an existing React component into a package and publish it to NPM. We'll be learning more about how to publish updates to our package and release them in a separate tutorial.