In this tutorial, we'll learn how we can create a Next.js project and integrate it with GraphCMS.
Introduction
GraphCMS's mission is to remove traditional content management pain points by using the power of GraphQL, and take the idea of a Headless CMS to the next level.
GraphCMS provides a lot of features out of the box. Some of them are as follows:
- GraphQL API
- Content Localization
- Webhooks
- Versioning
- Content API
It also provides a lot of Editorial and Operational features. Some of them are as follows:
- Rich Content Editing
- Global Marketing Campaigns
- SEO Friendly
- WYSIWYG
- Built in Localization
A demo of the application that we will be building is available here which is hosted on Vercel and the source code is available on Github.
Getting Started with Next.js
Let's setup a new Next.js project. To do so, we will have using the following command:
npx create-next-app
# or
yarn create next-app
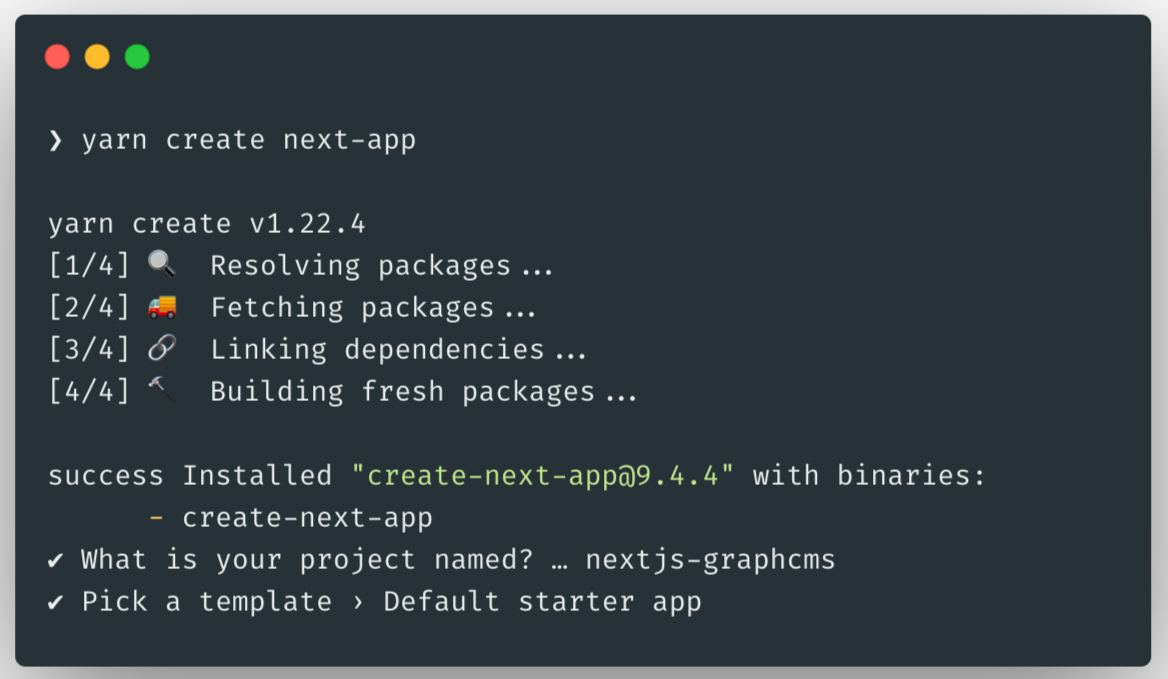
The above command will generate the following files for us:

Now, we can go inside the directory Next.js created for us and start the development server using the following command:
cd nextjs-graphcms && yarn dev
The above command will spin up a development server on http://localhost:3000/:

Getting started with GraphCMS
First, we need to create an account on GraphCMS for free. If you already have an account, you can just sign in.
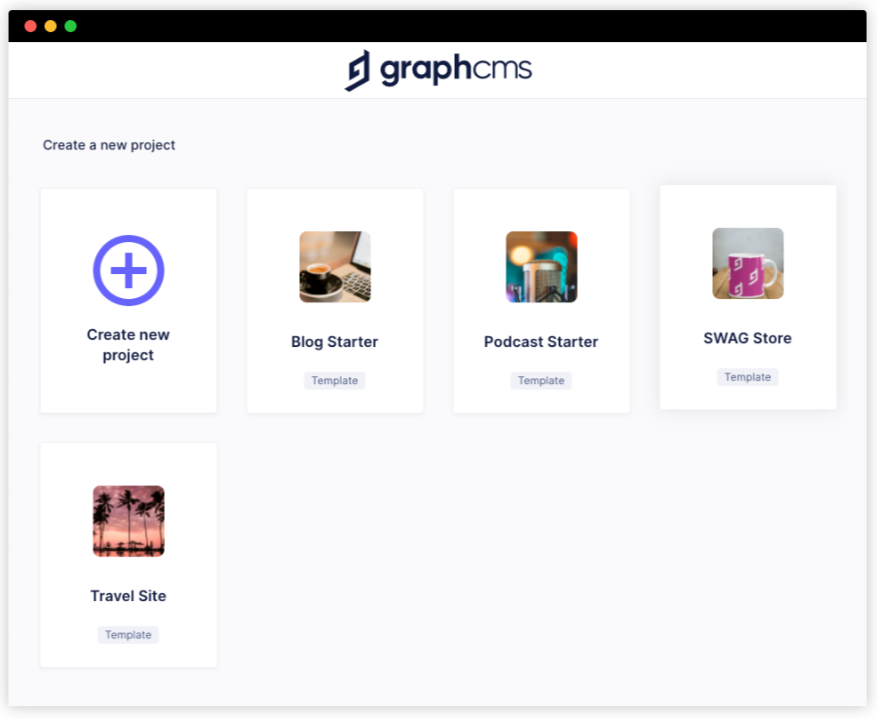
Next, after signing in, we can select from one of the available Project Templates. We will start with the Blog Starter template.
Next, we need to add a name to our Project and click on the "Create Project" button:

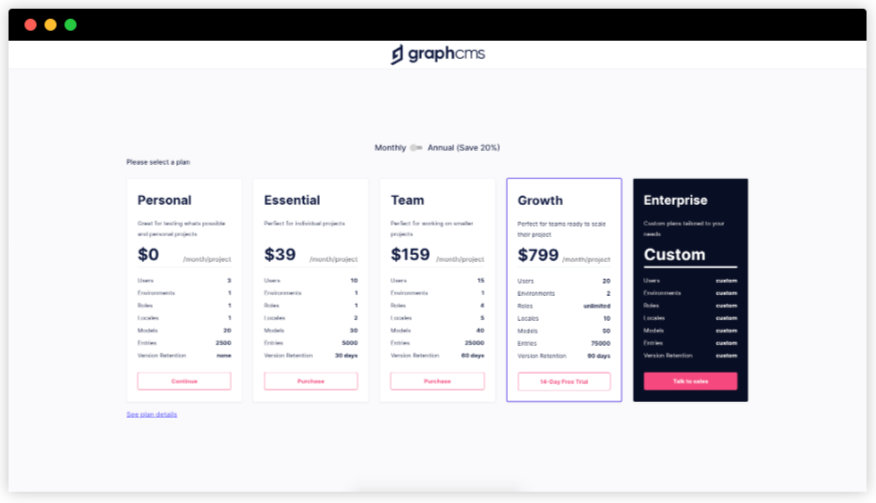
Next, we can select the "Personal" plan and click on the "Continue" button:
We can find out the URL endpoint of our project from our project settings:
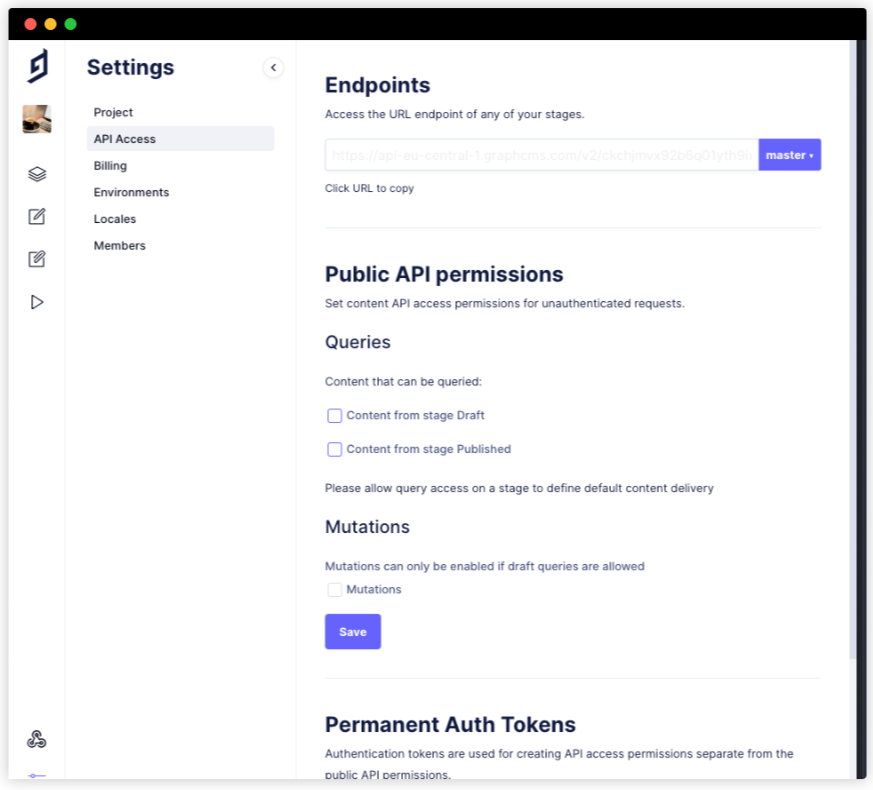
Now, if we visit the URL endpoint and start querying data using GraphQL, we won't get any data:
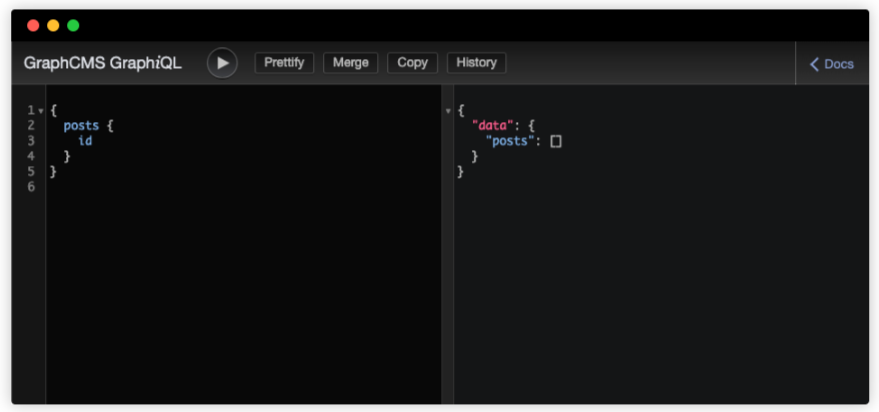
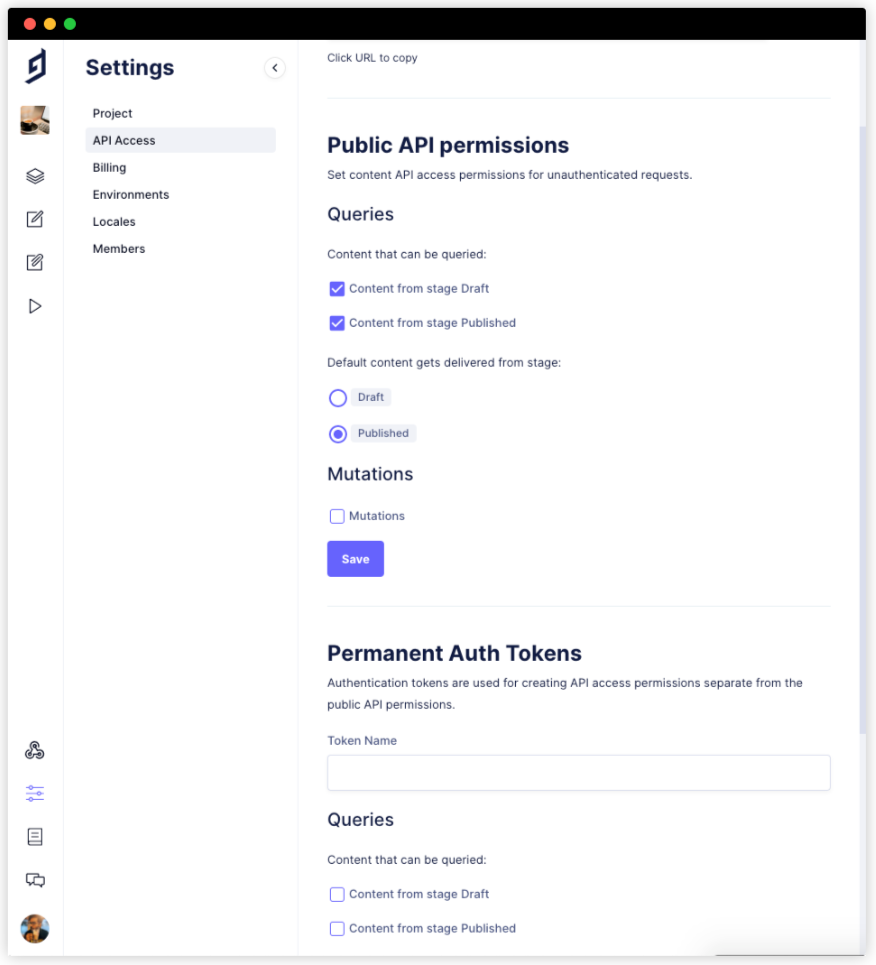
This is because we haven't updated the API permissions to fetch both Draft and Published data from GraphCMS:
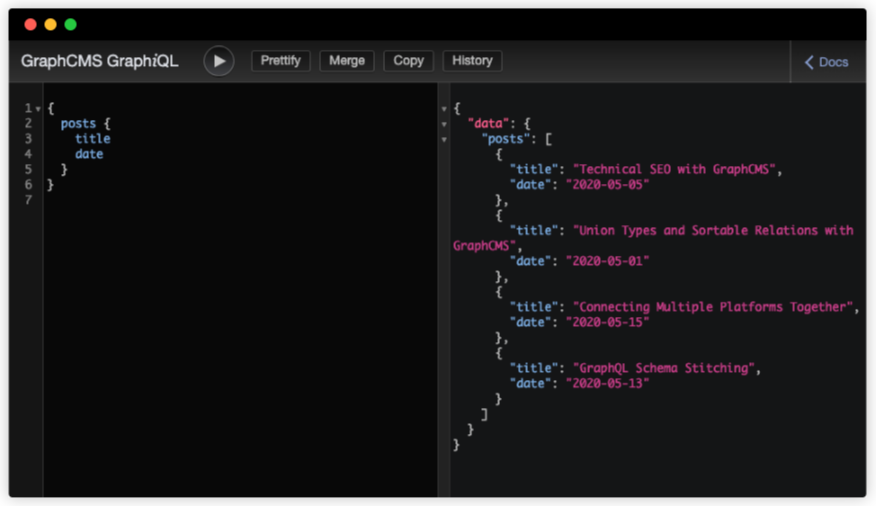
Now, if we fetching GraphQL from our URL endpoint, we will get proper data:
Let's save the URL endpoint in a .env file in our application:
GRAPHQL_URL_ENDPOINT=https://api-eu-central-1.graphcms.com/v2/something/master
Installing GraphQL client
We will be using graphql-request which is a minimal GraphQL client supporting Node and browsers for scripts or simple apps.
We can install that package using the following command:
npm add graphql-request
# or
yarn add graphql-request
Now, let's restart our Next.js server using yarn dev. We can use graphq-request to fetch data from our URL endpoint. To do so, we need to modify our pages/index.js file:
import { GraphQLClient } from "graphql-request";

const graphcms = new GraphQLClient(process.env.GRAPHQL_URL_ENDPOINT);

export async function getStaticProps() {
  const { posts } = await graphcms.request(
    `
    query Posts() {
      posts {
        id
        title
        excerpt
        slug
        coverImage {
          id
          url
        }
        author {
          id
          name
        }
        date
      }
    }
  `
  );

  return {
    props: {
      posts,
    },
  };
}

export default ({ posts }) => {
  return (
    <>
      {posts.map((post) => {
        return (
          <div key={post.id}>
            <img src={post.coverImage.url} alt={post.title} />
            <h2>{post.title}</h2>
            <p>{post.date}</p>
            <p>{post.author.name}</p>
            <p>{post.excerpt}</p>
          </div>
        );
      })}
    </>
  );
};
Now, if we visit http://localhost:3000/, we should be able to see the following screen:
Adding styles using TailwindCSS
We will be adding TailwindCSS using CDN. However, that is not the recommended way of installing TailwindCSS. We are using that just for the sake of decreasing the size of this tutorial. More information regarding how to install TailwindCSS can be found in their official documentation.
We need to create a new file _app.js inside our pages directory and add the following code:
import Head from "next/head";

const App = ({ Component, pageProps }) => {
  return (
    <>
      <Head>
        <link
          href="https://unpkg.com/tailwindcss@^1.0/dist/tailwind.min.css"
          rel="stylesheet"
        />
      </Head>
      <Component {...pageProps} />
    </>
  );
};

export default App;
Now, if we restart our server, we should be able to see that TailwindCSS is getting downloaded.
Next, we need to modify our pages/index.js file with the following code:
export default ({ posts }) => {
  return (
    <div className="py-16 bg-gray-100">
      {posts.map((post) => {
        return (
          <div
            key={post.id}
            className="max-w-lg shadow-lg mb-16 rounded-lg mx-auto flex"
          >
            <div
              className="h-48 lg:h-auto lg:w-48 flex-none bg-cover rounded-t lg:rounded-t-none lg:rounded-l text-center overflow-hidden"
              style={{ backgroundImage: `url(${post.coverImage.url})` }}
              title={post.title}
            ></div>
            <div className="bg-white rounded-b lg:rounded-b-none lg:rounded-r p-4 flex flex-col justify-between leading-normal">
              <div className="mb-8">
                <div className="text-gray-900 font-bold text-xl mb-2">
                  {post.title}
                </div>
                <p className="text-gray-700 text-base">{post.excerpt}</p>
              </div>
              <div className="flex items-center">
                <div className="text-sm">
                  <p className="text-gray-900 leading-none">
                    {post.author.name}
                  </p>
                  <p className="text-gray-600">{post.date}</p>
                </div>
              </div>
            </div>
          </div>
        );
      })}
    </div>
  );
};
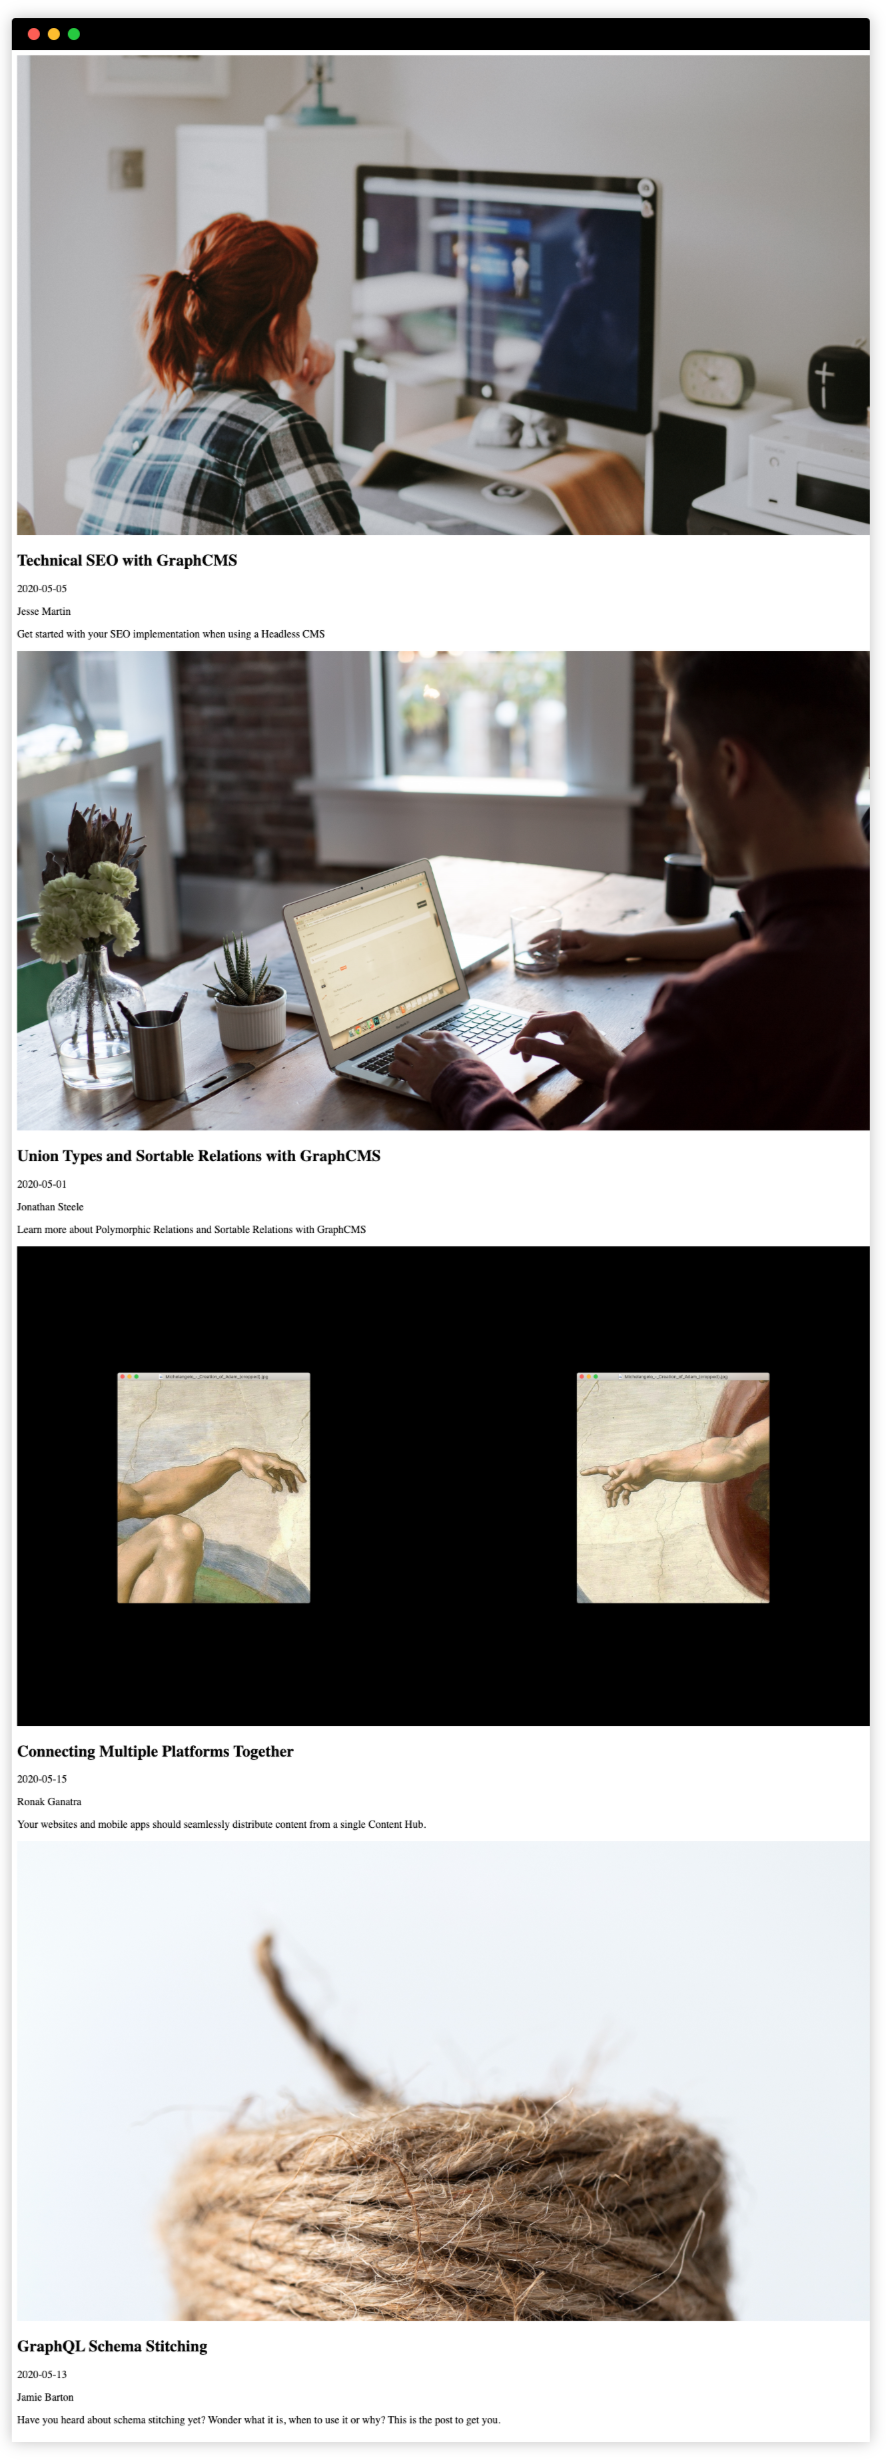
Now, if we visit http://localhost:3000/, we should be able to see the following:
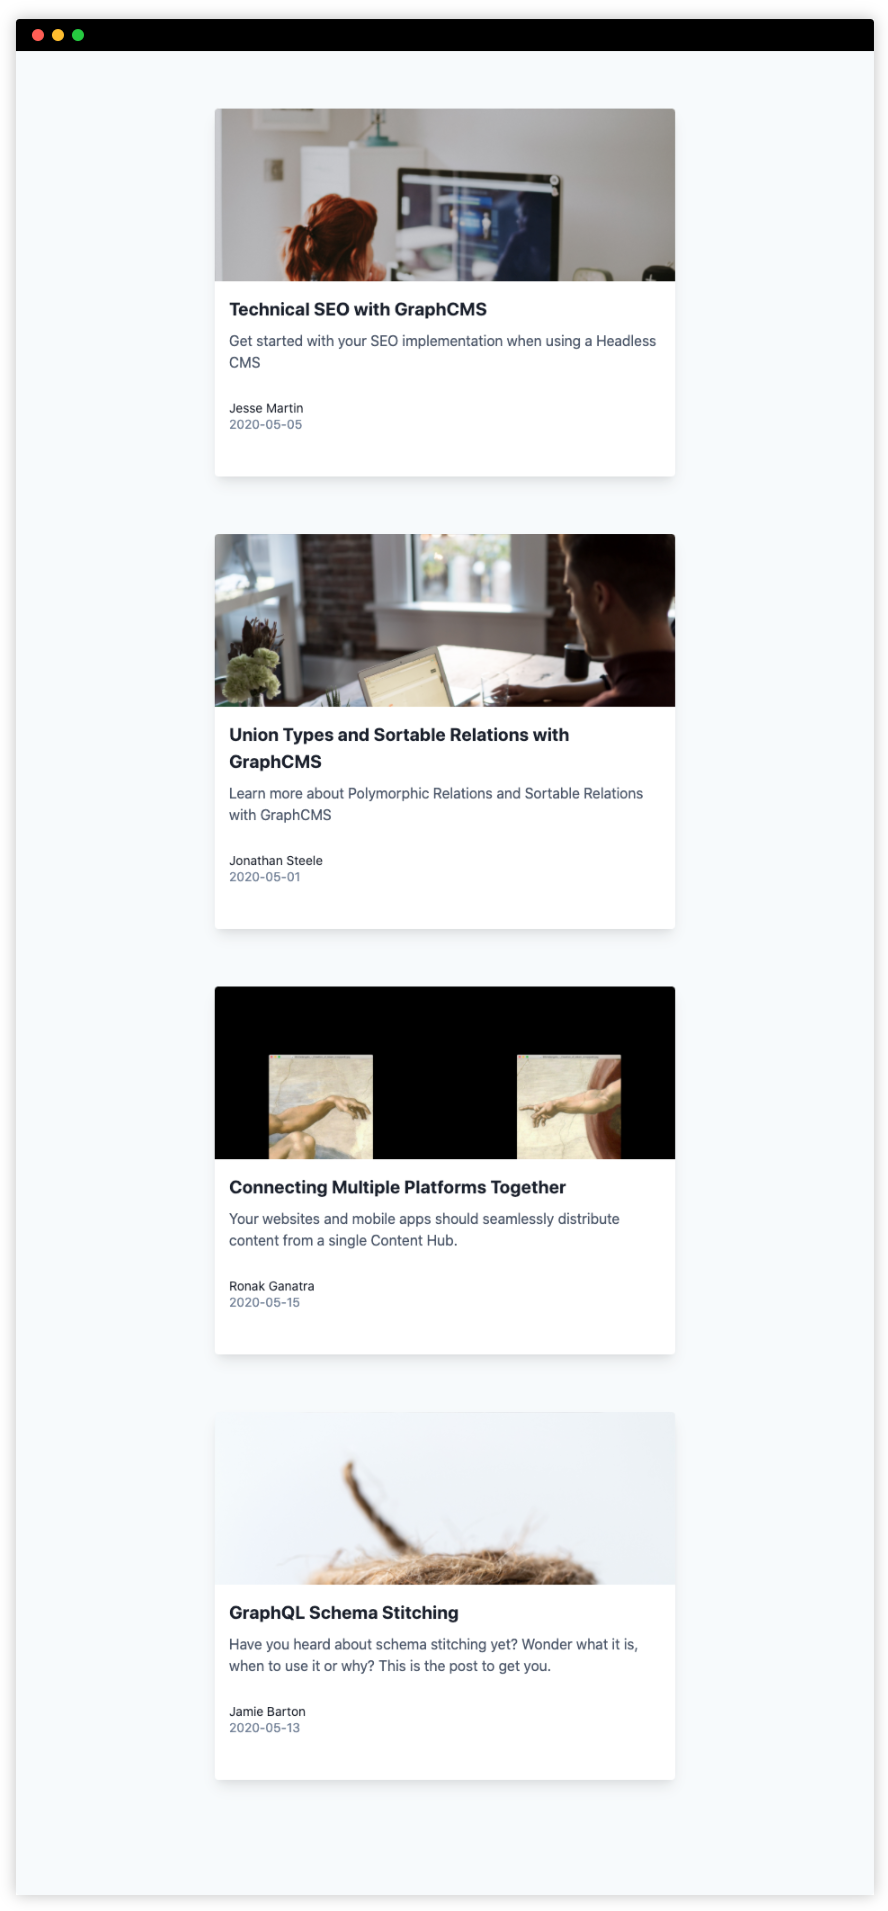
We've successfully fetched data from GraphCMS and rendered them on the browser.
Creating separate pages for each blog post
We can also show blogs in separate routes. To do that, we will need to modify our pages/index.js file:
import { GraphQLClient } from "graphql-request";
import Link from "next/link";

const graphcms = new GraphQLClient(process.env.GRAPHQL_URL_ENDPOINT);

export async function getStaticProps() {
  const { posts } = await graphcms.request(
    `
    query Posts() {
      posts {
        id
        title
        excerpt
        slug
        coverImage {
          id
          url
        }
        author {
          id
          name
        }
        date
      }
    }
  `
  );

  return {
    props: {
      posts,
    },
  };
}

export default ({ posts }) => {
  return (
    <div className="py-16 bg-gray-100">
      {posts.map((post) => {
        return (
          <Link key={post.id} as={`/post/${post.slug}`} href="/post/[slug]">
            <a className="max-w-lg shadow-lg mb-16 rounded-lg mx-auto flex">
              <div
                className="h-48 lg:h-auto lg:w-48 flex-none bg-cover rounded-t lg:rounded-t-none lg:rounded-l text-center overflow-hidden"
                style={{ backgroundImage: `url(${post.coverImage.url})` }}
                title={post.title}
              />
              <div className="bg-white rounded-b lg:rounded-b-none lg:rounded-r p-4 flex flex-col justify-between leading-normal">
                <div className="mb-8">
                  <div className="text-gray-900 font-bold text-xl mb-2">
                    {post.title}
                  </div>
                  <p className="text-gray-700 text-base">{post.excerpt}</p>
                </div>
                <div className="flex items-center">
                  <div className="text-sm">
                    <p className="text-gray-900 leading-none">
                      {post.author.name}
                    </p>
                    <p className="text-gray-600">{post.date}</p>
                  </div>
                </div>
              </div>
            </a>
          </Link>
        );
      })}
    </div>
  );
};
We will also need to create a new file pages/post/[slug].js with the following content:
import { GraphQLClient } from "graphql-request";
import Link from "next/link";

const graphcms = new GraphQLClient(process.env.GRAPHQL_URL_ENDPOINT);

export async function getStaticProps({ params }) {
  const { post } = await graphcms.request(
    `
    query Post($slug: String!) {
      post(where: { slug: $slug }) {
        id
        title
        content{
          text
        }
        slug
        coverImage {
          id
          url
        }
        author {
          id
          name
        }
        date
      }
    }
  `,
    {
      slug: params.slug,
    }
  );

  return {
    props: {
      post,
    },
  };
}

export async function getStaticPaths() {
  const { posts } = await graphcms.request(`
    {
      posts {
        id
        title
        content{
          text
        }
        slug
        coverImage {
          id
          url
        }
        author {
          id
          name
        }
        date
      }
    }
  `);

  return {
    paths: posts.map(({ slug }) => ({
      params: { slug },
    })),
    fallback: false,
  };
}

export default ({ post }) => {
  return (
    <div className="py-16 bg-gray-100 min-h-screen">
      <div className="max-w-lg shadow-lg rounded-lg mx-auto mb-16">
        <div
          className="h-48 rounded-t flex-none bg-cover text-center overflow-hidden"
          style={{ backgroundImage: `url(${post.coverImage.url})` }}
          title={post.title}
        />
        <div className="bg-white rounded-b lg:rounded-b-none lg:rounded-r p-4 flex flex-col justify-between leading-normal">
          <div className="mb-8">
            <div className="text-gray-900 font-bold text-xl mb-2">
              {post.title}
            </div>
            <p className="text-gray-700 text-base">{post.content.text}</p>
          </div>
          <div className="flex items-center">
            <div className="text-sm">
              <p className="text-gray-900 leading-none">{post.author.name}</p>
              <p className="text-gray-600">{post.date}</p>
            </div>
          </div>
        </div>
      </div>
      <div className="max-w-lg mx-auto">
        <Link href="/">
          <a>Back to all posts</a>
        </Link>
      </div>
    </div>
  );
};
For more information regarding how the Link component works can be found in the official Next.js documentation.
More information regarding how to add pages in Next.js can be found in the official Next.js documentation.
Conclusion
In this tutorial, we learnt how we can integrate GraphCMS with Next.js and create a blogging site. The demo of the application that we built as a part of this tutorial is available here which is hosted on Vercel and the source code is available on Github.